
Dagger Introduction
Dagger is a CI/CD tool co-founded by Solomon Hykes, who is also a co-founder of Docker.
After leaving Docker in 2018, Hykes launched Dagger in 2022 with the aim of revolutionizing CI/CD pipelines by providing a more flexible and programmable solution.
Dagger allows developers to define pipelines using programming languages such as Go, Python, or TypeScript, instead of static configuration files.
This approach simplifies the creation of portable and modular pipelines suited for both local and production environments.
As you might have guessed, no more plugins for GitHub Actions to run locally. Here’s another advantage:
Developers can now write their pipelines in their favorite languages and build in a beta environment identical to what runs on their machines.
Installation
There are several installation methods. You can find the quickstart guide here: Dagger Quickstart.
However, I also recommend Stéphane Robert’s method, which is simple and fast: Stéphane Robert - Dagger.
Here is Stéphane Robert’s method for Linux:
cd /tmpwget -O dagger_v0.14.0_linux_amd64.tar.gz https://github.com/dagger/dagger/releases/download/v0.14.0/dagger_v0.14.0_linux_amd64.tar.gztar xvfz dagger_v0.14.0_linux_amd64.tar.gzsudo mv dagger /usr/local/bin/dagger versionAnd for macOS:
brew install dagger/tap/daggerdagger versionOn Stéphane Robert’s blog, you can find an example in Python. Here, we’ll use TypeScript!
I’ll use this project as an example—a small Express API (GitHub Repository).
Initialization
First, I’ll clone the project:
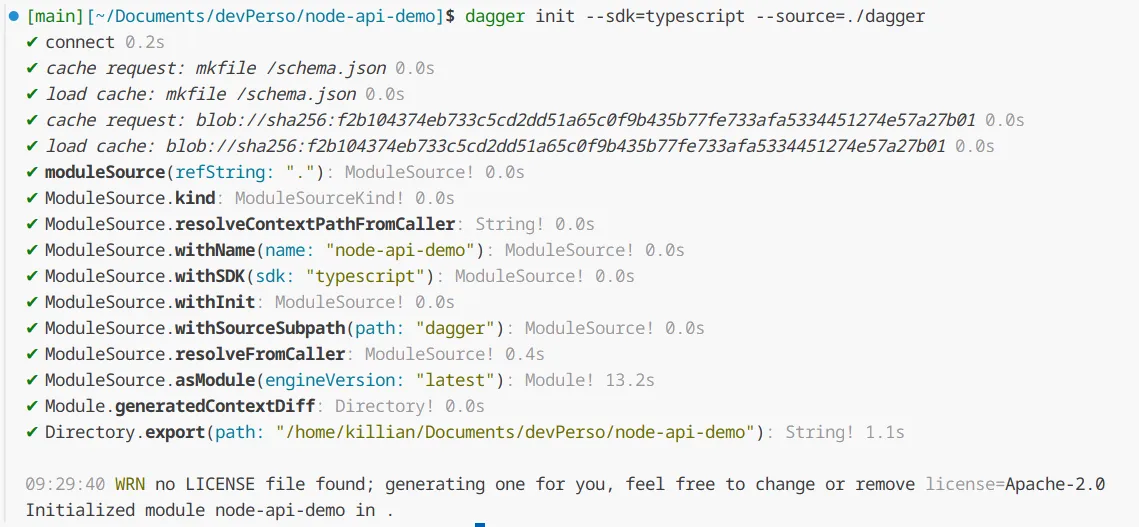
git clone git@github.com:Killian-Aidalinfo/node-api-demo.gitNow let’s initialize Dagger:
dagger init --sdk=typescript --source=./daggerWe’ve asked it to initialize with the TypeScript SDK and place all necessary files in the ./dagger directory.
In the dagger directory, there’s a src folder containing index.ts, which will serve as our CI/CD script.
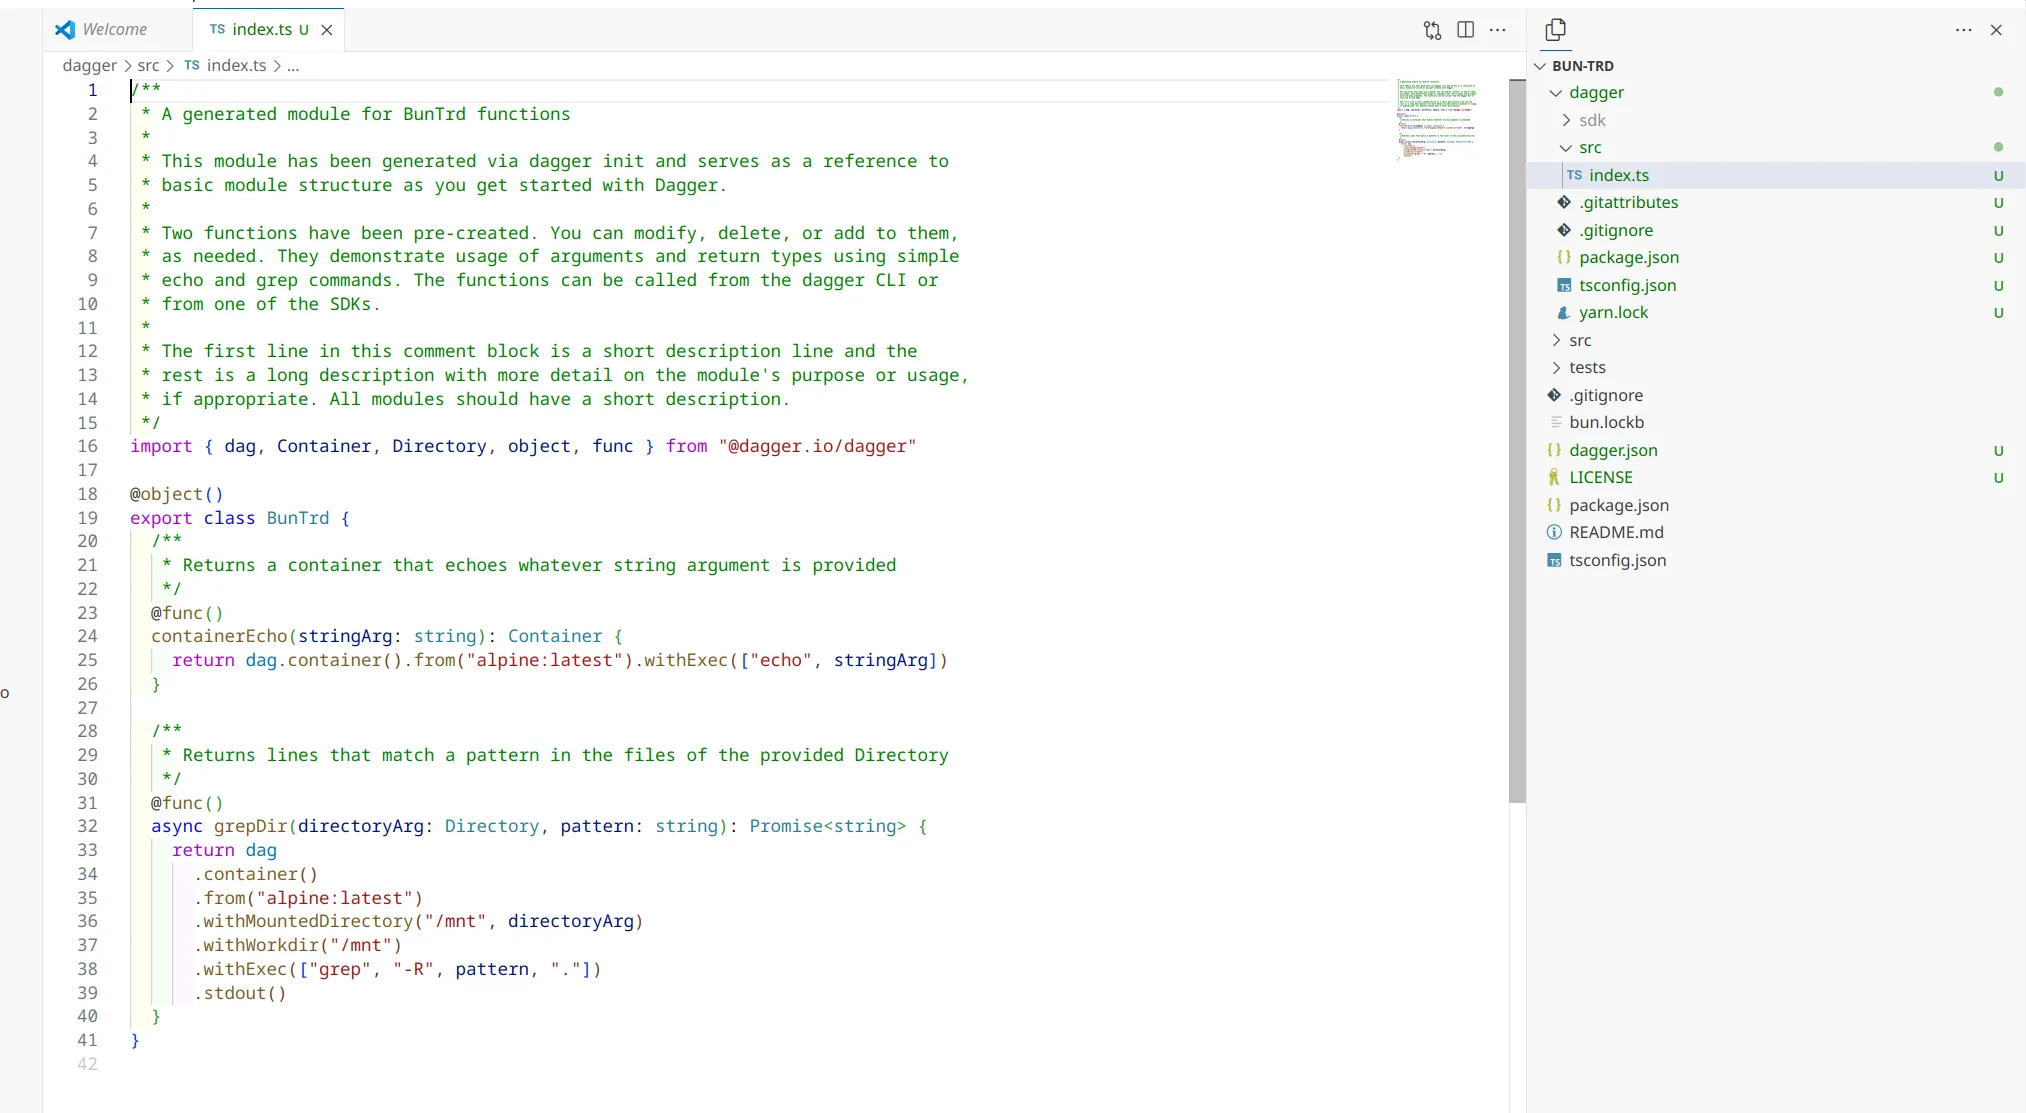
We’ll replace the content of index.ts with the following code:
import { dag, Container, Directory, object, func } from "@dagger.io/dagger"
@object()class NodeApiDemo {  @func()  async publish(source: Directory): Promise<string> {    return await this.build(source).publish(      "ttl.sh/myapp-" + Math.floor(Math.random() * 10000000)    );  }
  @func()  build(source: Directory): Container {    const nodeCache = dag.cacheVolume("node")    return (      dag        .container()        // start from a base Node.js container        .from("node:21-slim")        // add the source code at /src        .withDirectory("/src", source)        // mount the cache volume at /root/.npm        .withMountedCache("/root/.npm", nodeCache)        // change the working directory to /src        .withWorkdir("/src")        // run npm install to install dependencies        .withExec(["npm", "install"])        .withEntrypoint(["npm", "run", "start"])        .withExposedPort(8080)    )  }}
The publish function temporarily pushes the container to the ttl.sh registry for testing.
As shown, we’re creating a Node.js container, copying files from our directory to /src, mounting the Node.js cache, changing the working directory, running npm install, setting the container’s entry point, and exposing port 8080.
To avoid copying node_modules, modify the dagger.json file at the root of the project and add this key:
"exclude": [ "**/node_modules" ],Important!!!
I wasted an hour on a simple detail…the class name must match your project name.
No hyphens allowed. For example, if your project is node-api-demo, the class should be NodeApiDemo.
Finally, modify the package.json file in dagger/src to add your package manager:
"packageManager": "npm@10.8.2"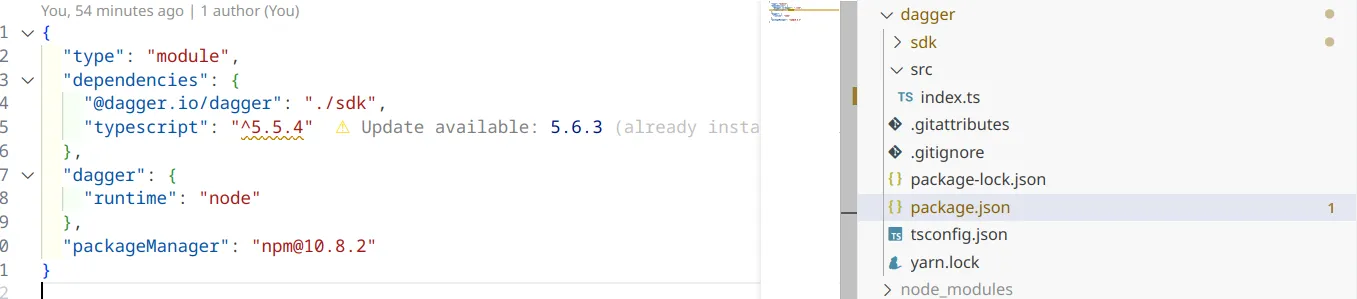
Great, everything should now be ready.
Building the Pipeline
Shall we run the pipeline?
dagger call publish --source=.
During execution, you’ll see a few available commands:
w: Open the pipeline view in Dagger Cloud.+/-: Adjust log detail.q: Quit the pipeline.
If you encounter an issue, try expanding the logs or running:
docker logs dagger-engine-v0.14.0But here, everything went smoothly, and here’s the result:
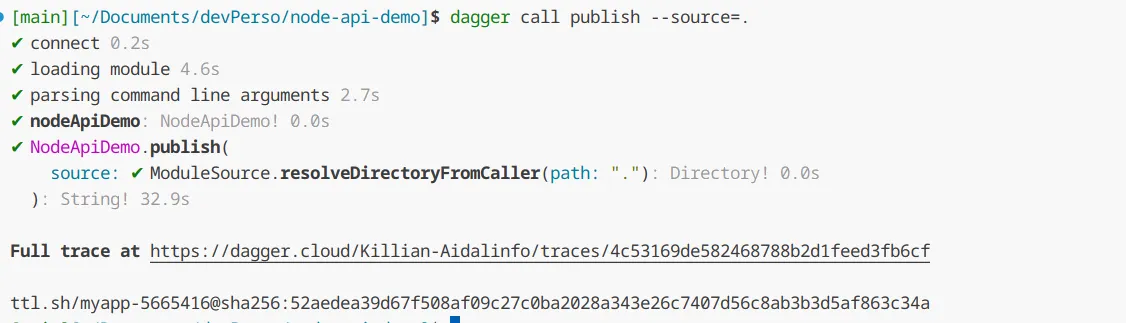
And there you have it! The pipeline successfully pushed our Docker image to the ttl.sh registry, which we can now run directly.
I’ll run it with docker run:
docker run -p 9900:8080 -d ttl.sh/myapp-3833143@sha256:94f182f0ec555abc7d923d780d922ec8f7fc9990e61027afd65a0b7ecf7e7f4c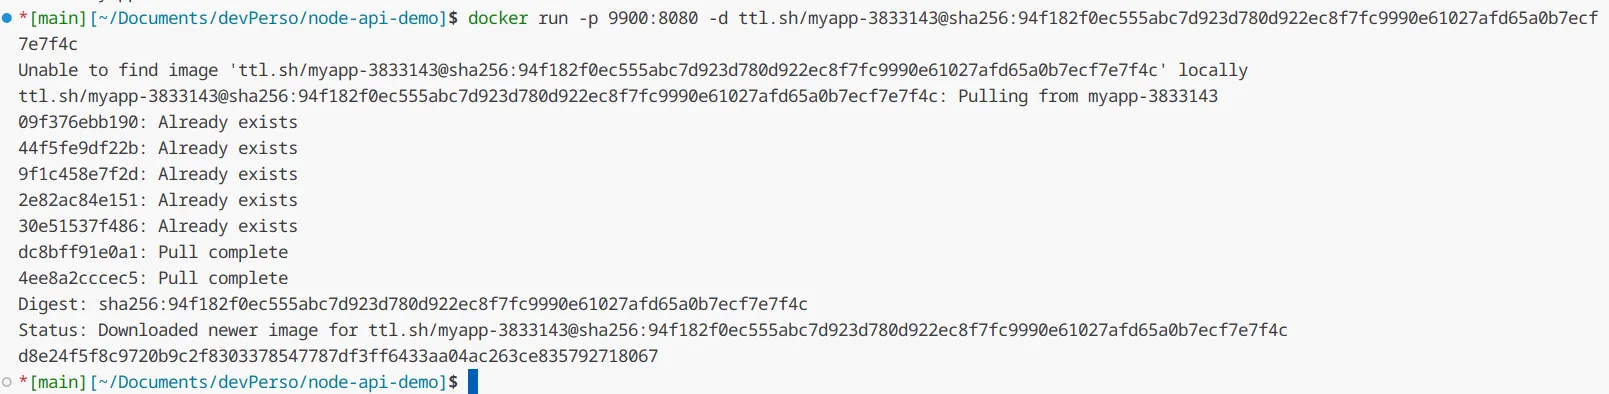
Our container is responding properly!
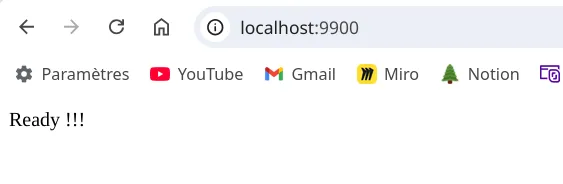
We can now integrate this CI pipeline into GitHub Actions or deploy it locally.
Details
A few concepts I forgot to mention:
call: Thecallargument is used to invoke a specific function in the pipeline.- Execution order: Dagger automatically organizes pipelines based on their dependencies.
--source: Specifies the project directory, allowing the function to retrieve values.
Conclusion
I understand that for now, this pipeline isn’t very complex, but the goal was to explore this tool.
Soon, I’ll demonstrate a project using Bun and then move on to more extensive pipelines resembling production environments.