
Dagger & Bun : automatiser vos pipelines Node.js
Maintenant que nous connaissons Dagger et que nous avons fait un premier test, on va essayer de le faire avec un projet Bun!
Initialisation
Pour commencer, je vais utiliser ce projet qui est une petite librairie node.
git clone git@github.com:Killian-Aidalinfo/lib-acl-json.gitAu cas où, voici le lien du projet : https://github.com/Killian-Aidalinfo/lib-acl-json
Maintenant nous allons initialiser Dagger de la même manière que dans le chapitre précédent :
dagger init --sdk=typescript --source=./daggerUne fois les fichiers de dagger initialisé, on va modifier le package.json de dagger.
Voici mon package.json :
{  "type": "module",
  "dependencies": {    "typescript": "^5.5.4",    "@dagger.io/dagger": "./sdk"  },  "dagger": {    "runtime": "bun"  }}
Il faut enlever la partie packageManager et ajouter la partie runtime, en indiquant Bun.
Voici la documentation officiel de dagger à ce sujet, si besoin Documentation Bun
Nous n’avons pas besoin d’indiquer un packageManager car il c’est que le runtime Bun utilise son propre package manager.
Première pipeline
On va commencer par une pipeline simple, installer les dépendances, puis réaliser les tests unitaires de Bun.
import { dag, Container, Directory, object, func } from "@dagger.io/dagger"
@object()export class LibAclJson {  /**   * Return the result of running unit tests   */  @func()  async test(source: Directory): Promise<string> {    return this.buildEnv(source)      .withExec(["bun", "test"])      .stdout()  }
  /**   * Build a ready-to-use development environment   */  @func()  buildEnv(source: Directory): Container {    const nodeCache = dag.cacheVolume("node")    return dag      .container()      .from("oven/bun")      .withDirectory("/src", source)      .withMountedCache("/root/.npm", nodeCache)      .withWorkdir("/src")      .withExec(["bun", "install"])  }}
Nous voyons donc que builEnv, nous permet de faire le bun install et ensuite nous allons récupérer ces fichiers dans la partie test pour exécuter nos tests.
Maintenant appelons notre fonction test :
dagger call test --source=.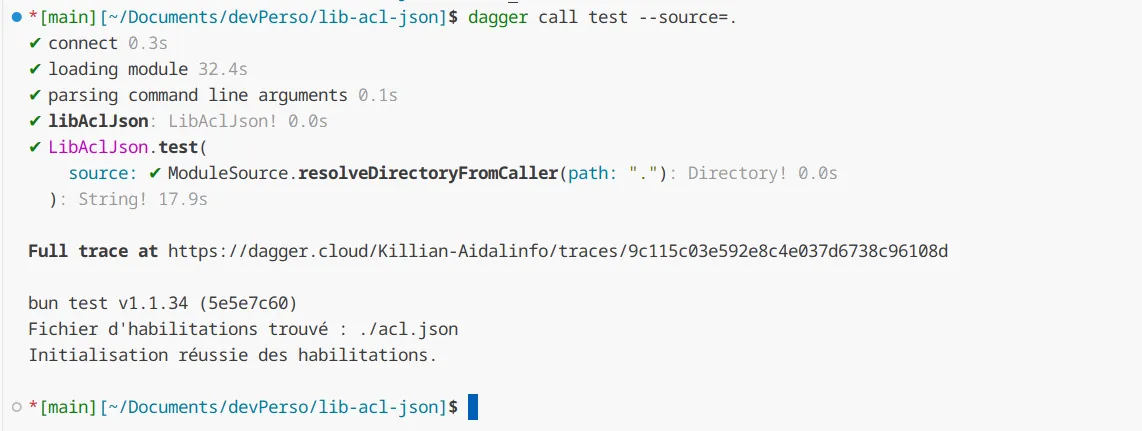
Parfait ! Tout c’est bien passé 😎
NPM publish
Bien, à présent nous allons voir comment utiliser une variable d’environnement et publier sur NPM notre package.
Je vais aller sur npmjs.com, et générer un token.
Ajout du token en variable d’environnement :
export NPM_TOKEN=npm_bZZV3kQl7iVNeHmumZKcsrPpeb0dhX32M3vrMaintenant on va modifier notre pipeline pour publier notre package :
import {  dag,  Container,  Directory,  object,  func,  Secret,} from "@dagger.io/dagger";
@object()export class LibAclJson {  @func()  async publish(    source: Directory,    version: string,    token: Secret  ): Promise<void> {    // Build the source code    const buildOutput = await this.build(source);
    const publishContainer = dag      .container()      .from("node:lts")      .withWorkdir("/src")      .withDirectory("/src", buildOutput)      //Create environment variable in container      .withSecretVariable("TOKEN", token)      // Create .npmrc file      .withExec([        "sh",        "-c",        'echo "//registry.npmjs.org/:_authToken=${TOKEN}" > /root/.npmrc',      ])      // Choose the version to publish      .withExec(["npm", "version", version, "--no-git-tag-version"])      // Publish the package      .withExec(["npm", "publish", "--access public"]);
    await publishContainer.exitCode();  }
  @func()  async build(source: Directory): Promise<Directory> {    const buildContainer = this.buildEnv(source).withExec([      "bun",      "build",      "src/index.ts",      "--outdir",      "./dist",      "--target",      "node",    ]);    const outputDir = buildContainer.directory("/src");
    return outputDir;  }
  @func()  async test(source: Directory): Promise<string> {    return this.buildEnv(source).withExec(["bun", "test"]).stdout();  }
  @func()  buildEnv(source: Directory): Container {    const nodeCache = dag.cacheVolume("node");    return dag      .container()      .from("oven/bun")      .withDirectory("/src", source)      .withMountedCache("/root/.npm", nodeCache)      .withWorkdir("/src")      .withExec(["bun", "install"]);  }}
On lance la fonction publish avec notre env :
dagger call publish --source=. --version=0.0.14 --token=env:NPM_TOKENRésultat :
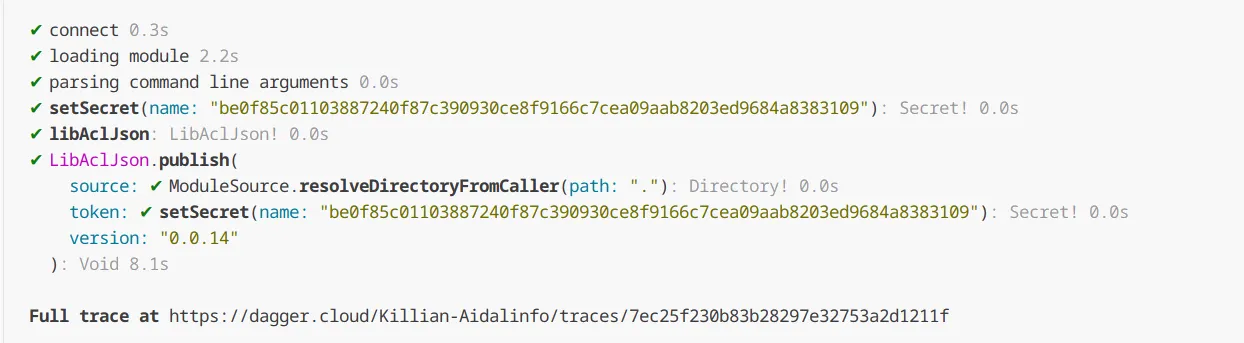
On vérifie sur NPM :

Super ! On a bien publié notre package sur NPM !
Comme vous l’avez vu dans publish on appel notre function build qui construit notre package. Ensuite récupère la sortie du dossier ‘src’, création du .npmrc avec le token et on publie sur npm avec la bonne version.
Pour récupérer des variables d’environnement, on utilise la syntaxe env:VARIABLE. Il est aussi possible de le faire depuis un fichier, voici la documentation officielle https://docs.dagger.io/cookbook/#use-secret-variables
Conclusion
Maintenant que nous avons vu comment intégrer Bun, vous pouvez créer des pipelines avec Dagger et Bun 🚀
Prochaine étape, build et push d’une docker image sur un registre privé !